Imagine polishing a well tuned instrument; you are somewhat near to appreciating the accuracy required in matching a mikuni jet kit. If you get it properly, these kits will be like equipping your bike with a new pair of wings—a flight of unparalleled smoothness. But turn around wrong-minded and you will be sputtering down the road without peanut gallery clapping. So sit up, knuckle down, and let’s jump straight into installation advice meant to preserve your ride—and your pride.
Imagine initially that you are cooking a delicious dinner. You wouldn’t start cooking without having all your equipment close at hand? Make sure your workstation is clutter-free and furnished with tools you will need: carb cleaner, a little wrench set, screwdrivers, and some old-fashioned WD-40. Keep your jet sizes close-at hand. This is important since, depending on your elevation and temperature, smaller tweaks could be required. Mikuni’s documentation will help you like a road map to buried wealth.
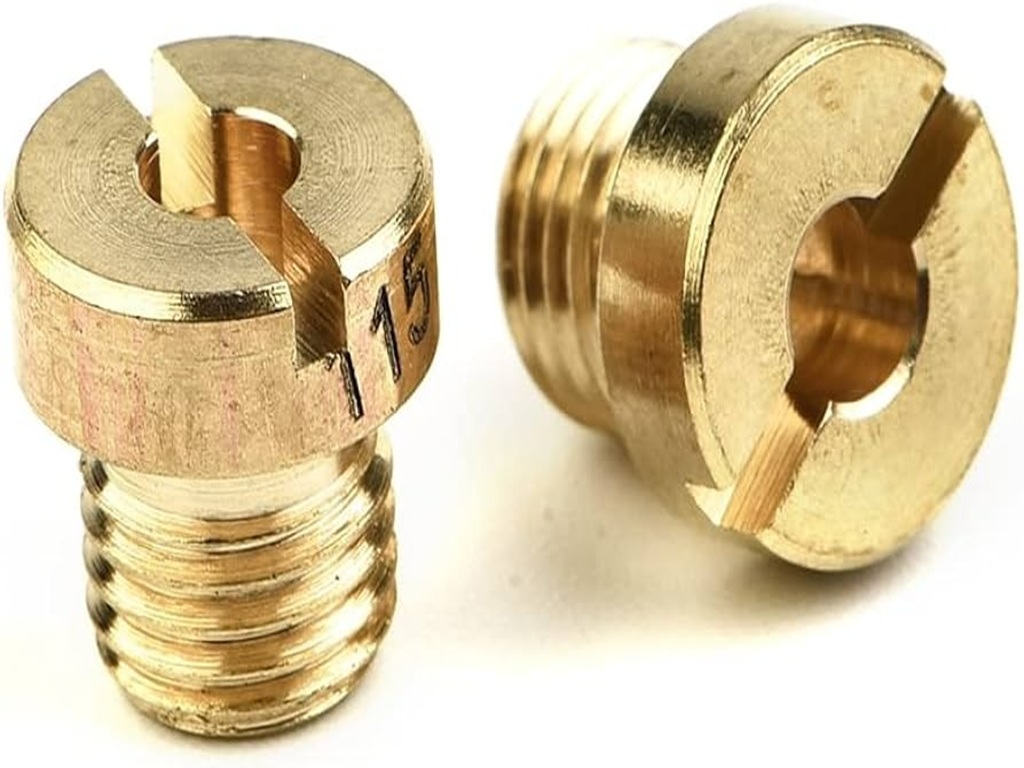
Pop the tank off to head for carburetor country! Be delicate but exact as a surgeon would be while you unscrew and disassemble. Open the carburetor and you find yourself staring at what like the small innards of a Swiss watch. Look at the current size number and note it before adding the new jets. This figure represents the DNA of the present performance of your bike.
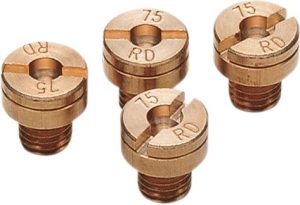
Time is of the essence for the heart of the work: installing those sleek new jets. The rub is that here is You have to replace the main jet first then work on the pilot jet very carefully. Every requires appropriate fit. Snug, but not Herculean strength—just enough so nothing shakes free. Imagine these two as the unusual team that makes the performance of your bike sing. Friends for the journey, if you so want.